Getting Started with the G Router Installation Process
Welcome to our comprehensive guide on the G router installation process. Whether you're a tech-savvy individual or a beginner, we'll guide you through the entire process with ease. In this article, we'll cover the steps involved in setting up your G router, troubleshooting common issues, and provide tips for optimal performance.Understanding the G Router Installation Process
The G router installation process involves several steps that require attention to detail and patience. Before you begin, make sure you have the following: * A G router (GRAX210T or GR6EXX0C) * A power source * An internet service provider (ISP) with a plan that supports G router installation * A smartphone or computer with a My Verizon app (for Verizon users) * A TV with a connected set-top box (optional)Step 1: Unboxing and Preparation
When you receive your G router, carefully unbox and inspect the device for any damage or defects. Next, locate the following items in the box: * G router * Power adapter * Ethernet cable * Installation manual * Wi-Fi extender (optional)Connecting the G Router
1. Connect the power adapter to the power port on the G router and plug it into a nearby power outlet. 2. Locate the Ethernet cable and connect one end to the WAN port on the G router and the other end to your modem. 3. Connect the Wi-Fi extender (if included) to the G router.Step 2: Setting Up the G Router
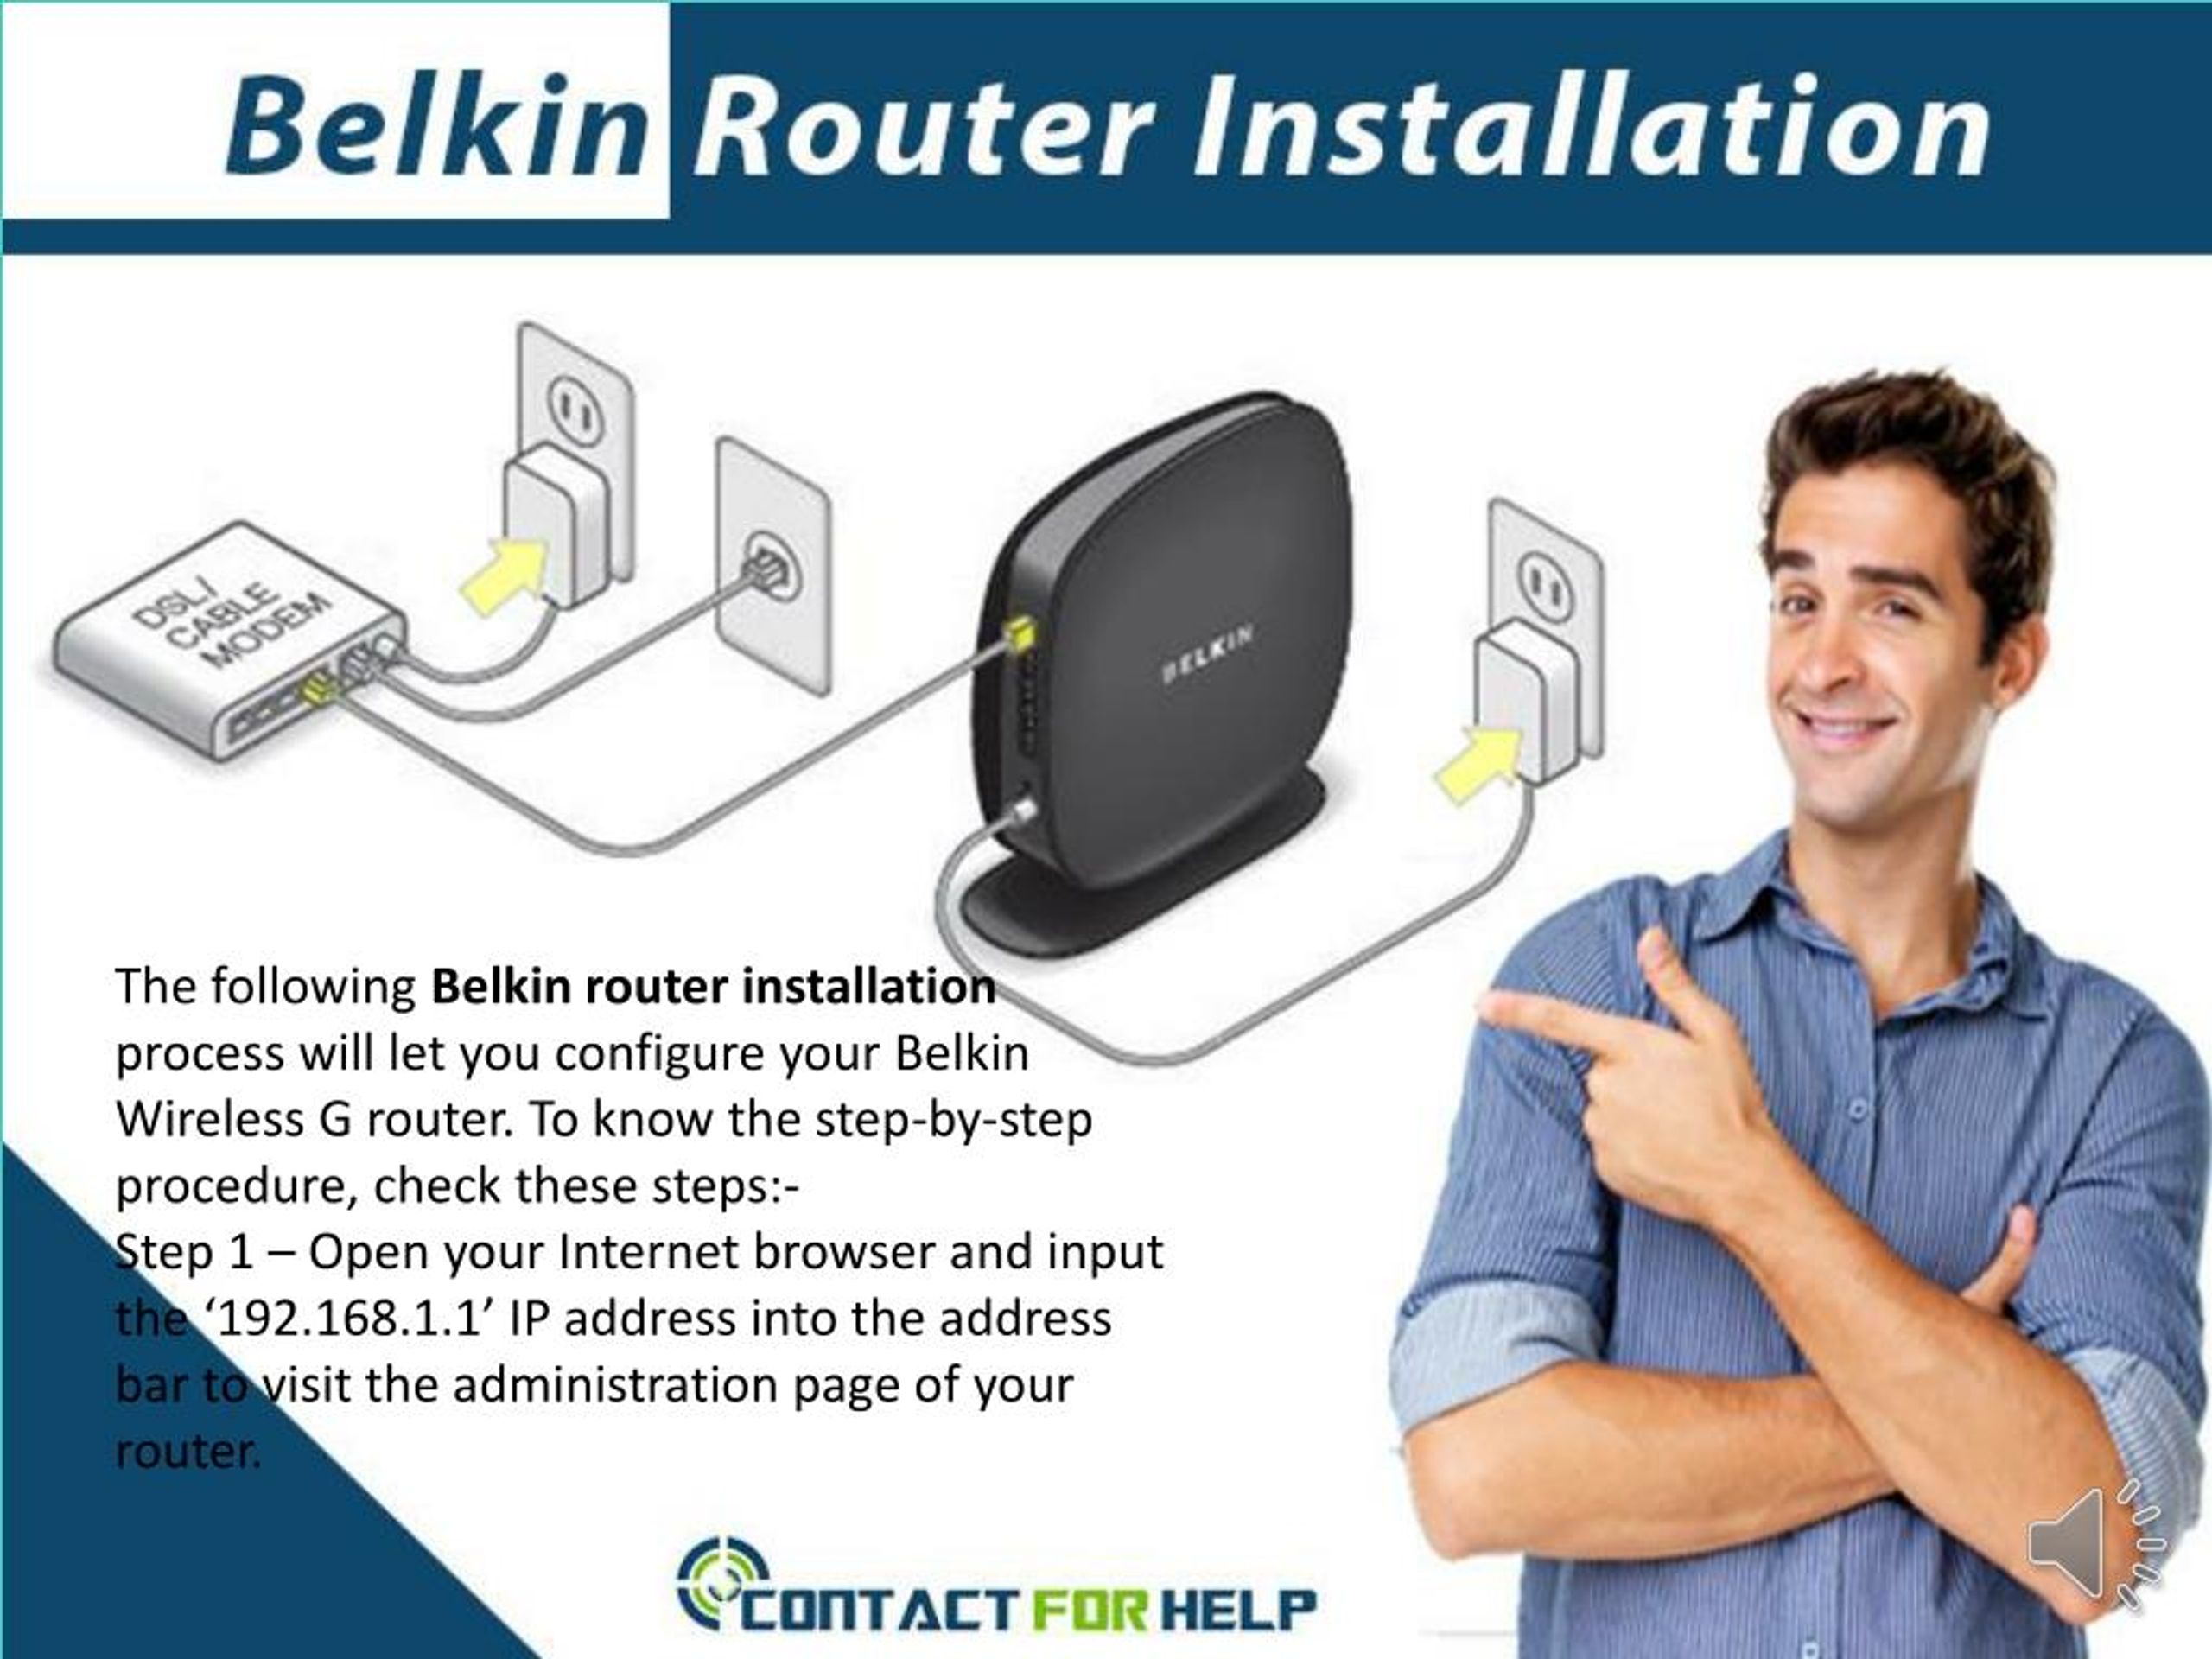
1. Open a web browser on your smartphone or computer and type the IP address listed in the installation manual (192.168.0.1 or 192.168.1.1). 2. Log in to the G router using the default administrator credentials. You can find these in the installation manual. 3. Follow the on-screen instructions to complete the setup process, including configuring your Wi-Fi network, setting up your user account, and activating your internet services.Step 3: Installing the G Router via the My Verizon App