Engineered Wood Flooring Installation: A Comprehensive Guide
Are you considering installing engineered wood flooring in your home? With its durability, style, and ease of installation, it's no wonder why this popular flooring option is a favorite among homeowners. In this article, we'll provide a step-by-step guide on how to install engineered wood flooring, including the different methods, tools, and expert tips to achieve a professional-looking result.
Why Choose Engineered Wood Flooring?
Engineered wood flooring is a popular choice for homeowners due to its unique combination of durability, style, and ease of installation. Unlike solid hardwood flooring, engineered wood flooring is less prone to warping and shrinking, making it an ideal option for homes with high moisture levels. Additionally, engineered wood flooring is available in a wide range of styles and finishes, allowing homeowners to choose the perfect look for their home.
Determining the Best Installation Method
The installation method you choose will depend on the type of subfloor you have and the personal preference for the look and feel of the finished floor. The three main installation methods for engineered wood flooring are:
- Floating Installation: This method involves snapping the planks together without nailing or gluing them to the subfloor.
- Gluing Down Installation: This method involves gluing the planks to the subfloor using an adhesive.
- Nail-Down Installation: This method involves nailing the planks to the subfloor using a pneumatic nailer.
Tools and Equipment Needed
Before starting the installation process, you'll need the following tools and equipment:
- Safety equipment (gloves, safety glasses, etc.)
- Kneepads
- Moisture meter
- Measuring tape
- Tapping block
- Underlayment
- Foam-backed underlayment
- Acoustic underlayment
- Engineered wood flooring
- Cutting tools (circular saw, hand saw, etc.)
- Nailing or stapling tools (pneumatic nailer, stapler, etc.)
Step-by-Step Installation Guide
Here's a step-by-step guide on how to install engineered wood flooring:
- Prepare the subfloor by cleaning and drying it thoroughly.
- Choose the installation method and prepare the necessary tools and equipment.
- Lay down the underlayment, if necessary.
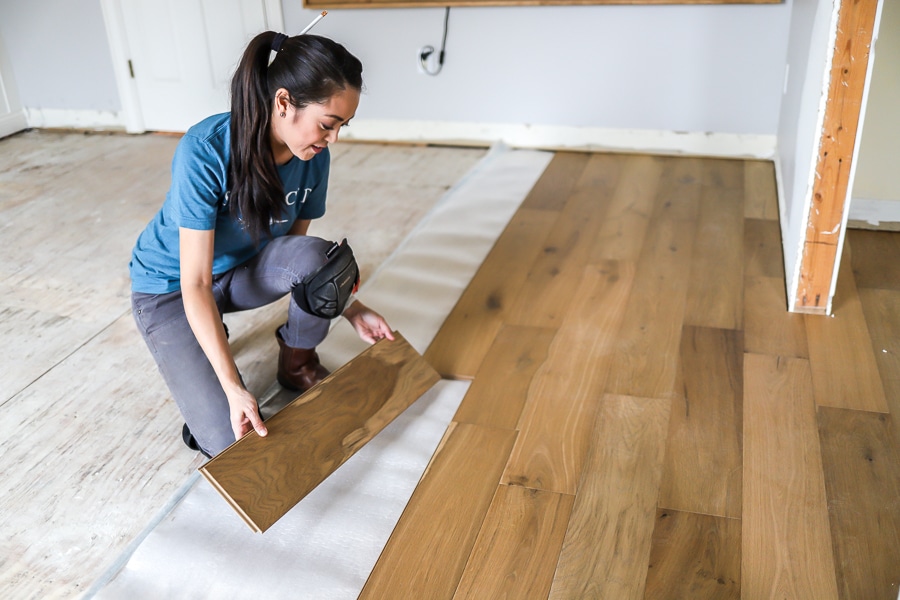
- Install the first plank, starting from the longest wall.
- Continue installing the planks, snapping or nailing/gluing them together, depending on the chosen installation method.
- Use a tapping block to tap the planks into place, ensuring they're evenly spaced and securely fastened.
- Install any transition strips or thresholds, as needed.
- Finish the installation with a final coat of finish, if desired.
Expert Tips and Tricks
Here are some expert tips and tricks to help you achieve a professional-looking result:
- Use a moisture meter to ensure the subfloor is dry and free from moisture.
- Choose the right underlayment for your subfloor and installation method.
- Use a tapping block to tap the planks into place, ensuring they're evenly spaced and securely fastened.
- Start from the longest wall and work your way outwards to avoid mistakes and errors.
- Use a pneumatic nailer or stapler to install plank fasteners for a professional-looking finish.
Conclusion
Installing engineered wood flooring is a rewarding and rewarding DIY project that can add beauty, warmth, and value to your home. With this comprehensive guide, you'll have the tools and knowledge to choose the right installation method, prepare the necessary tools and equipment, and complete a professional-looking installation. Remember to follow the manufacturer's instructions and expert tips and tricks to ensure a successful installation.


")


 | Floor & Decor")


