Netgear Router Setup with Firmware Version: A Comprehensive Guide
In today's digital age, having a reliable and secure internet connection is crucial for both personal and professional use. Netgear routers are popular choices among consumers due to their exceptional performance, features, and ease of use. However, to ensure optimal performance, it's essential to update the firmware regularly. In this article, we'll provide a step-by-step guide on how to set up a Netgear router with the latest firmware version.
What is Firmware and Why is it Important?
Firmware is the software that controls and manages all functions and features of a device, including network settings, security, and wireless capabilities. Updating the firmware regularly is crucial to ensure that your router remains secure, stable, and performing optimally. Firmware updates often include bug fixes, security enhancements, and new features.
Preparation is Key: Before You Begin
Before you start the Netgear router setup with firmware version, ensure that you have the following:
- A computer connected directly to the router via an Ethernet cable.
- The latest firmware version for your Netgear router.
- The Netgear Nighthawk app or a web browser.
It's essential to update the firmware only on a computer connected directly to the router via an Ethernet cable. Wireless signals can drop, and if you attempt to perform a firmware update over a Wi-Fi connection and the signal drops out, you may render the router unusable.
Updating Firmware using the Nighthawk App
To update the firmware using the Nighthawk app:
- Download and install the Nighthawk app on your mobile device.
- Launch the app and navigate to the "Settings" menu.
- Select "Update Firmware" and follow the on-screen instructions.
- Wait for the update to complete. This may take a few minutes.
Updating Firmware using a Web Browser
To update the firmware using a web browser:
- Open a web browser on your computer and navigate to the router's IP address (default is usually 192.168.0.1 or 192.168.1.1).
- Login to the router using the admin username and password.
- Navigate to the "Settings" menu and select "Update Firmware".
- Follow the on-screen instructions to complete the update.
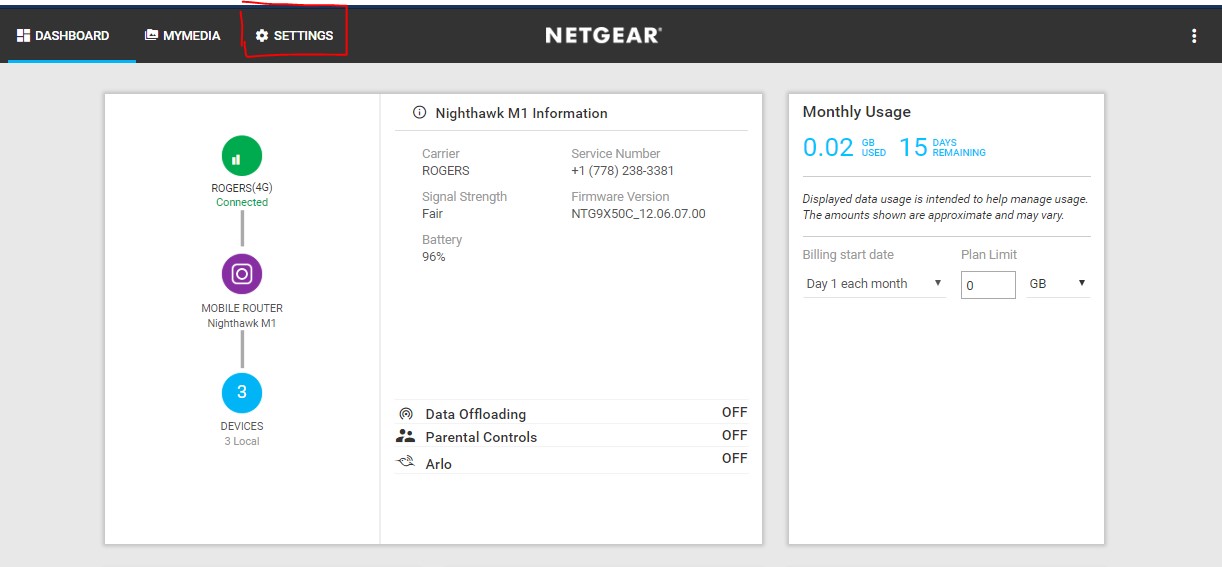
Verifying Firmware Version
After updating the firmware, verify the version by following these steps:
- Launch the Nighthawk app or navigate to the router's web interface.
- Navigate to the "Settings" menu and select "Firmware Version".
- The latest firmware version will be displayed.
Troubleshooting Common Issues
Common issues during firmware update may include:
- Router not responding or freezing.
- Firmware update fails or encounters errors.
- Router not recognized or detected.
To troubleshoot these issues, refer to the Netgear support documentation or contact Netgear customer support for assistance.
Conclusion
Netgear router setup with firmware version is a crucial process that ensures your router remains secure, stable, and performing optimally. By following the steps outlined in this article, you can easily update your firmware and enjoy the latest features and security enhancements. Remember to always update the firmware regularly to ensure optimal performance and security.
Additional Tips and Resources
For more information on Netgear router setup, firmware updates, and troubleshooting, refer to the following resources:
- Netgear Support Documentation
- Netgear Customer Support
- Netgear Router Database


