Safe Garage Door Installation: A Comprehensive Guide
When it comes to garage door installation, safety should always be a top priority. Garages are an essential component of any home, providing security, convenience, and curb appeal. However, improper installation can lead to costly repairs, safety hazards, and even injuries. In this comprehensive guide, we'll explore the importance of safe garage door installation and provide expert tips to ensure a smooth and efficient installation process.
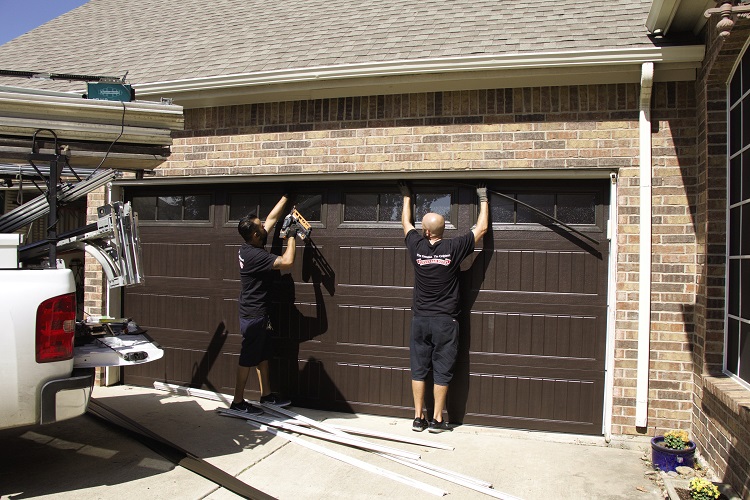
Decide DIY vs. Pro for Your Garage Door Installation Process
While some homeowners may consider DIY garage door installation as a cost-effective option, it's essential to weigh the pros and cons. Professional installation may seem expensive, but it ensures that the job is done correctly, safely, and efficiently. Improper installation can lead to structural damage, safety hazards, and costly repairs down the line.
Important Safety Considerations for Garage Door Installation
- Use proper safety gear, including gloves, safety glasses, and a hard hat.
- Ensure the door is properly balanced and aligned to prevent accidents.
- Use the correct mounting hardware and brackets to prevent structural damage.
- Follow the manufacturer's instructions for installation and maintenance.
- Inspect the door and its components regularly to prevent wear and tear.
Step-by-Step Guide to Garage Door Installation
Pre-Installation Preparation
Before starting the installation process, ensure you have the following materials:
- Garage door panel and frame
- Mounting hardware and brackets
- Roller assemblies and springs
- Electrical components and wiring
- Measuring and testing tools
Installation Process
Step 1: Mount the Door Frame
Mount the door frame to the garage door opening using the correct mounting hardware and brackets. Ensure the frame is level and securely attached to the wall.
Step 2: Install the Roller Assemblies
Install the roller assemblies and springs onto the door frame. Ensure the rollers are properly aligned and the springs are securely attached.
Step 3: Connect the Electrical Components
Connect the electrical components, including the opener motor and sensors, according to the manufacturer's instructions.
Step 4: Install the Final Hardware
Install the final hardware, including handles, locks, and safety devices, according to the manufacturer's instructions.
Step 5: Test the Door
Test the door to ensure it operates smoothly, safely, and efficiently. Check for any gaps or misalignments and make necessary adjustments.
Post-Installation Inspection
After installing the garage door, perform a thorough inspection to ensure the following:
- The door is properly balanced and aligned.
- The rollers are properly aligned and the springs are securely attached.
- The electrical components are connected and functioning correctly.
- The door operates smoothly, safely, and efficiently.
Why Expert Help Ensures a Perfect, Safe Installation
While DIY garage door installation may seem like a cost-effective option, it's essential to consider the risks involved. Improper installation can lead to structural damage, safety hazards, and costly repairs down the line. Hiring a professional garage door installer ensures that the job is done correctly, safely, and efficiently, providing peace of mind and protecting your home and loved ones.
Common Mistakes to Avoid During Garage Door Installation
- Incorrect mounting hardware and brackets.
- Improper roller assembly and spring installation.
- Incorrect electrical component installation.
- Insufficient testing and inspection.
Conclusion
Safe garage door installation is crucial to ensure the longevity, safety, and efficiency of your garage door. By following the expert tips and guidelines outlined in this comprehensive guide, you'll be able to install your garage door with confidence, ensuring a smooth and efficient installation process. Remember, hiring a professional garage door installer may seem expensive, but it's essential to avoid costly repairs and safety hazards down the line.


: Home Service Pros")


