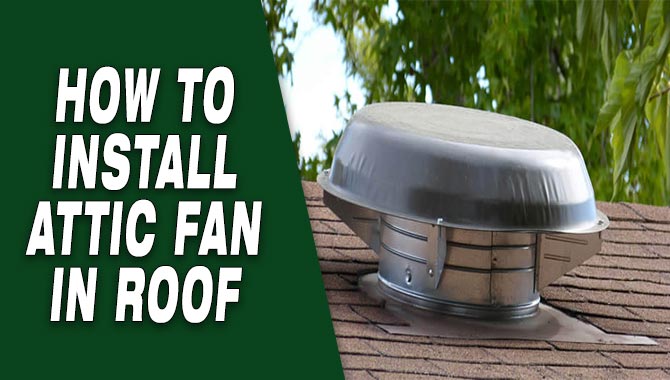
Attic Fan Installation for Home Renovation: A Comprehensive Guide
Installing an attic fan is one of the most effective ways to improve your home's energy efficiency and reduce cooling costs. However, it's essential to follow safety procedures and proper steps to ensure a successful installation. In this article, we'll take you through a clear, step-by-step process for installing an attic fan safely.
About Attic Fans
Attic fans are designed to exhaust hot, humid air from the attic, replacing it with cooler, drier air from outside. There are two main types: powered (electric) attic fans and solar-powered attic fans. Both serve the purpose of improving attic ventilation.
Benefits of Attic Fans
- Improves attic ventilation, reducing heat gain and moisture buildup
- Reduces cooling costs by lowering the temperature of the attic
- Helps preserve the roof by reducing the risk of damage caused by excessive heat and moisture
- Can improve the overall comfort and energy efficiency of your home
Preparing for Installation
Before installing an attic fan, you need to prepare the necessary materials and tools. These include:
- The attic fan itself, including the fan unit, motor, and mounting hardware
- Wiring and electrical components, if necessary
- A power source, such as a wall outlet or electrical panel
- A ladder or scaffolding for accessing the attic
- A drill and bits for making holes and installing screws
- A level for ensuring the fan is properly aligned
Choosing the Right Attic Fan
Choosing the right attic fan is essential for maintaining proper attic insulation and ensuring energy efficiency in your home. Consider the following factors when selecting an attic fan:
- Power source: Determine whether you need a powered or solar-powered attic fan
- Mounting type: Choose between a wall-mounted or ceiling-mounted installation
- Features: Consider additional features, such as thermostat control or variable-speed motors
- Size: Ensure the fan is the right size for your attic space
Installation Steps
Installing an attic fan is a relatively straightforward process, but it requires attention to detail and safety precautions. Follow these steps:
- Identify the location for the attic fan, taking into account airflow and accessibility
- Mark the area where the fan will be installed, using a pencil and a level
- Drill holes for the mounting screws, using a drill bit slightly larger than the screws
- Install the fan unit, securing it with screws and ensuring it's properly aligned
- Connect the wiring and electrical components, following local electrical codes and regulations
- Test the fan to ensure it's working properly and efficiently
Tips and Considerations
When installing an attic fan, keep the following tips and considerations in mind:
- Always follow local building codes and regulations
- Ensure proper ventilation and airflow in the attic space
- Consider the size and type of fan needed for your specific application
- Use a ladder or scaffolding to access the attic, and ensure it's stable and secure
- Test the fan regularly to ensure it's working efficiently
Attic Fan Installation Costs
The cost of attic fan installation can vary depending on several factors, including the type of fan, mount type, features, and professional labor rates. On average, the cost of attic fan installation ranges from $369 to $913, with a national average of $624.
Conclusion
Installing an attic fan is a worthwhile investment for homeowners looking to improve their home's energy efficiency and reduce cooling costs. By following the steps outlined in this guide, you can ensure a successful installation and enjoy the benefits of improved attic ventilation.


